 Email: [email protected]
 Tel: +86-188-5709-9268
Repairing perforations or tears on inflatable decorations can be relatively straightforward with the right materials and techniques. Here's a step-by-step guide:
Identify the Damage: Begin by conducting a meticulous examination of the inflatable decoration. Carefully scrutinize the entire surface, paying close attention to seams, corners, and areas prone to stress. Utilize adequate lighting and perhaps a magnifying glass to ensure no minute punctures or tears are overlooked. Document the size, shape, and location of each identified damage site to facilitate targeted repair efforts.
Clean the Area: Prepare the damaged section for repair by thoroughly cleansing it of any contaminants that may impede adhesion or compromise the integrity of the patch. Create a cleaning solution using mild soap or detergent diluted in lukewarm water. Gently scrub the affected area with a soft-bristled brush, sponge, or cloth, ensuring to remove all traces of dirt, grime, and debris. Rinse the area with clean water to eliminate any residual cleaning agents, and pat it dry using a lint-free towel or cloth.
Deflate the Decoration: To access the damaged area and facilitate a seamless repair process, fully deflate the inflatable decoration. Depress the release valve or remove the inflation nozzle to expel all air from the structure. Flatten the decoration on a clean, dry surface, ensuring it lies uniformly without creases or folds. Take caution to prevent further damage during deflation and handling.
Prepare the Patch Material: Select a suitable patch material capable of effectively sealing the perforation or tear on the inflatable surface. Opt for repair materials specifically designed for inflatable products, such as PVC repair fabric or vinyl patching material. Using sharp scissors or a utility knife, cut a patch slightly larger than the damaged area to ensure comprehensive coverage and sufficient overlap for secure adhesion.
Apply Adhesive: Choose a high-quality adhesive formulated for bonding inflatable materials with superior strength and durability. Prior to application, carefully review the manufacturer's instructions and safety precautions provided with the adhesive product. Apply a generous layer of adhesive to both the damaged section of the inflatable decoration and the corresponding surface of the patch material, ensuring complete coverage and uniform distribution. Use a disposable brush, applicator tool, or gloved fingers to spread the adhesive evenly, paying particular attention to the edges and corners of the patch.
Press and Hold: Position the prepared patch over the damaged area, aligning it carefully to ensure proper coverage and symmetry. Apply firm, even pressure to the patch using your hands or a roller tool to promote intimate contact between the adhesive layers and expel any trapped air bubbles. Ensure the patch adheres securely to the inflatable surface, pressing firmly along the edges and perimeter to create a watertight seal.
Allow Time to Cure: Following the application of the patch, allow adequate time for the adhesive to cure and bond the materials effectively. Ensure the repaired inflatable decoration is placed on a flat, level surface in a well-ventilated area free from moisture, dust, and direct sunlight. Avoid disturbing or manipulating the patched area during the curing process to prevent displacement or compromise of the adhesive bond.
Reinflate and Test: Once the adhesive has fully cured, cautiously reinflate the repaired inflatable decoration to its intended pressure level. Monitor the inflation process closely, ensuring the structure regains its original shape and form without any signs of air leakage or instability. Conduct a thorough inspection of the repaired area, examining the patch for adherence, flexibility, and resilience. Test the integrity of the repair by gently pressing and flexing the patched section, verifying its ability to withstand stress and pressure without detachment or failure.
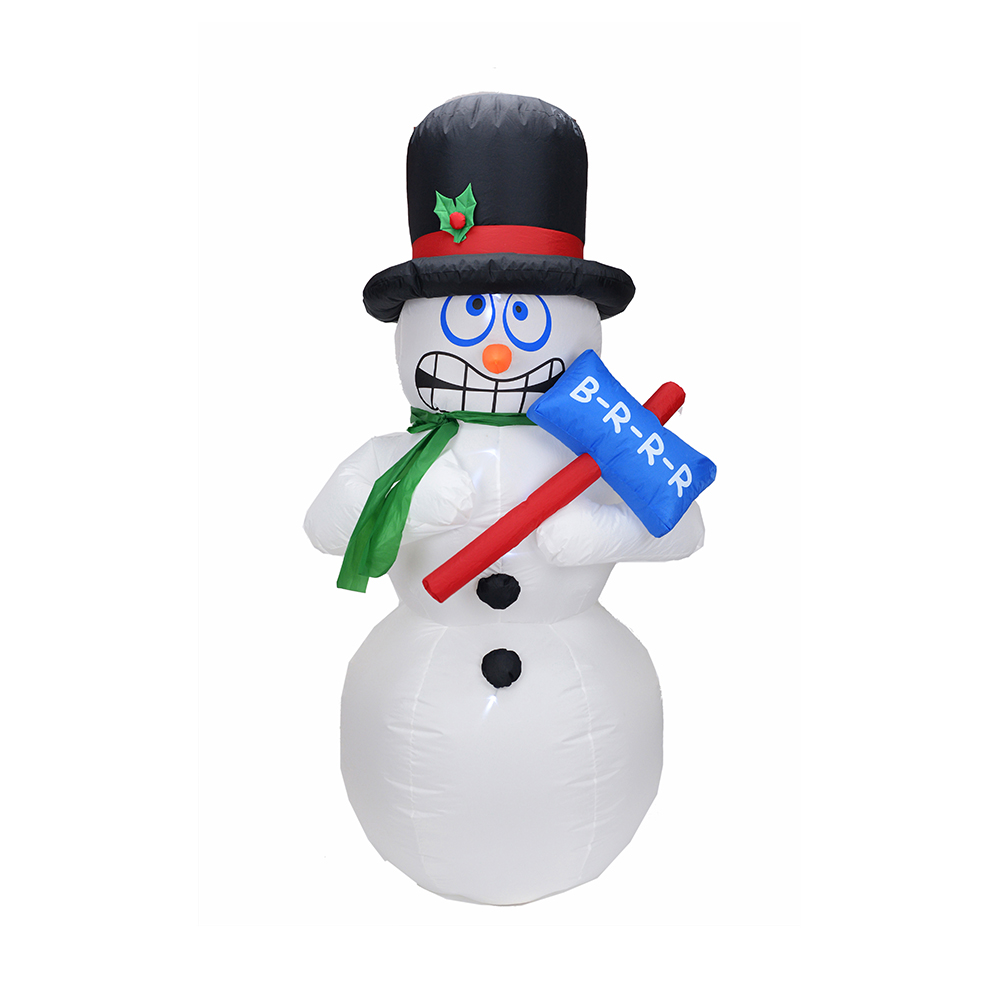
180cm Christmas inflatable shivering snowman (led lights)
